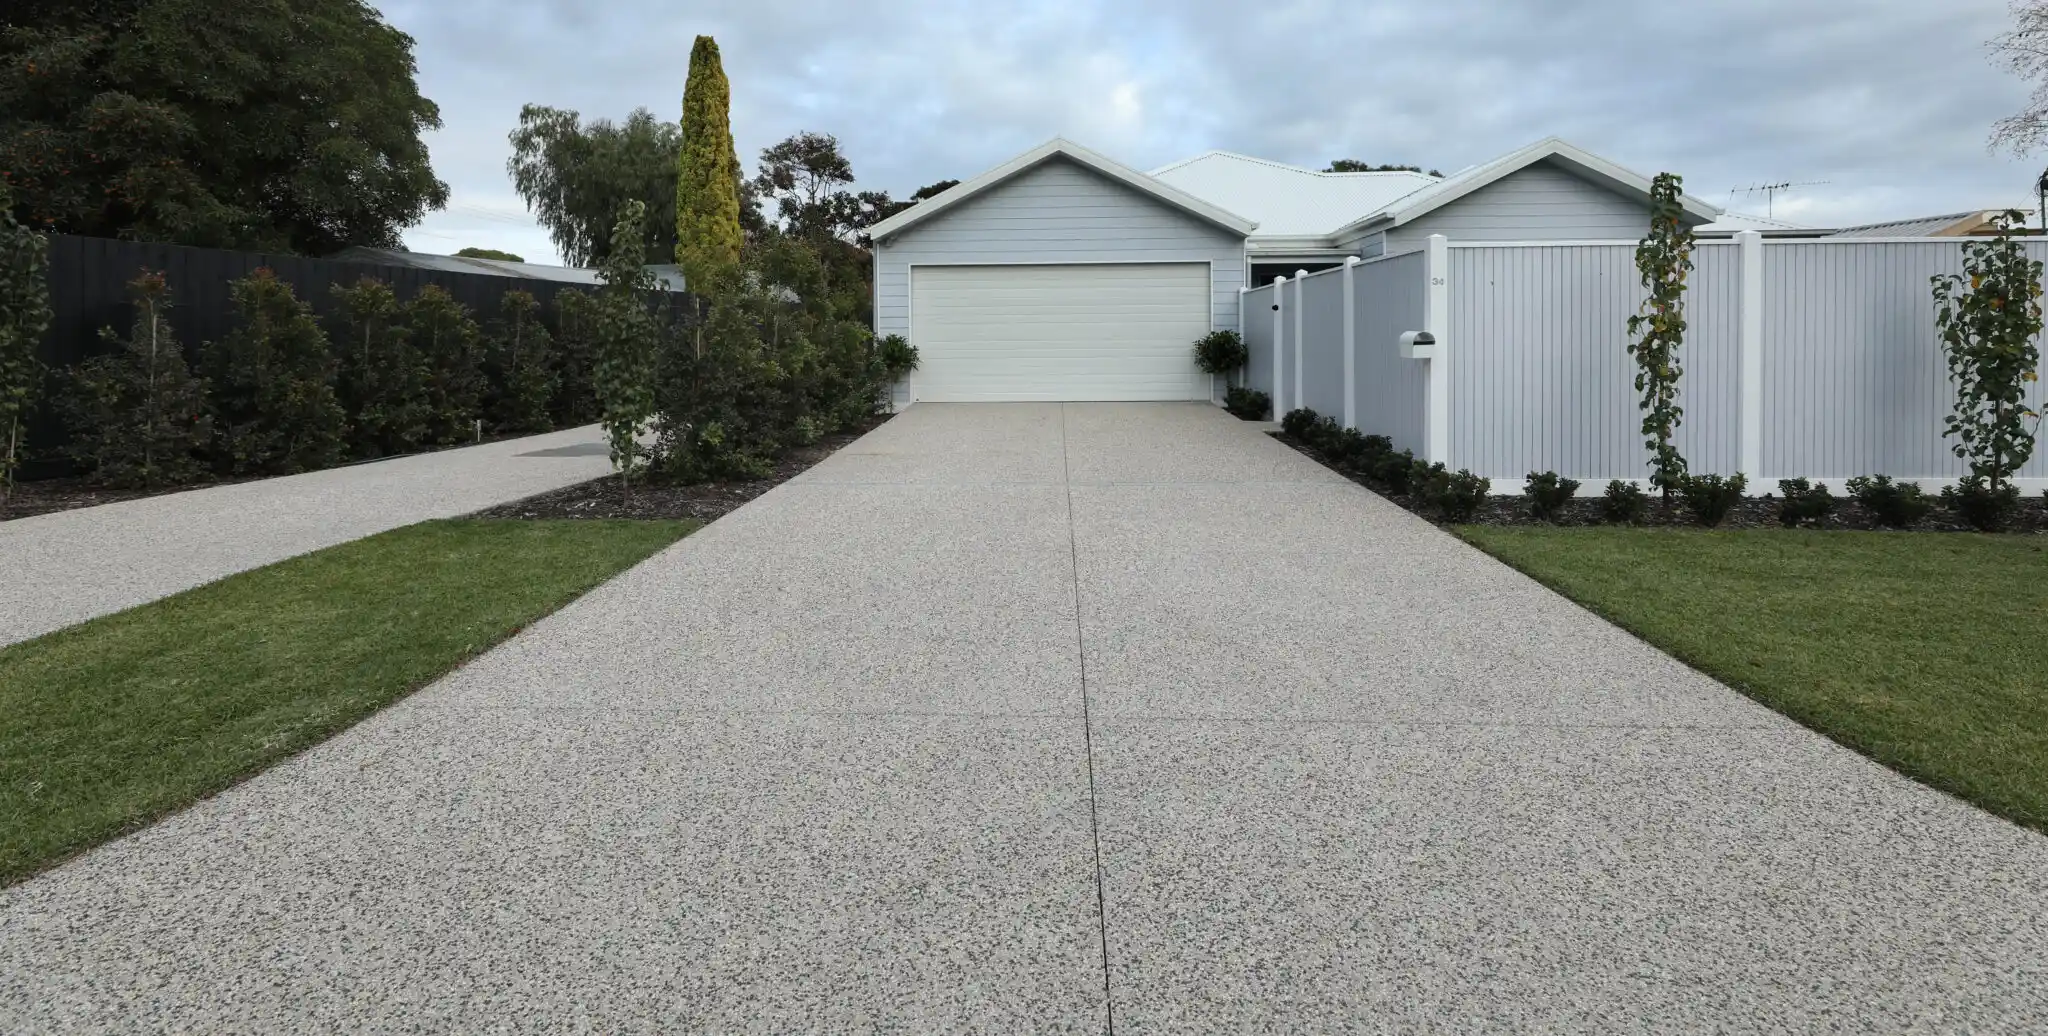
How Concrete Installation Works
Wondering how concrete installation works before starting a driveway, patio, walkway, slab, foundation, or outdoor concrete project?
A good concrete project is not just about pouring concrete. The process may include site review, old concrete removal, grading, drainage planning, base preparation, form setup, concrete placement, finishing, curing, and cleanup.
This guide explains the concrete installation process Orange County property owners can expect, including what happens during a concrete project from the first site review to the final walkthrough.
Odell Concrete has served Orange County since 1976. We help homeowners, HOAs, property managers, builders, and business owners plan concrete driveways, patios, walkways, foundations, drainage, grading, demolition, and decorative concrete finishes.
Established in 1976
Licensed & Insured
California Contractor License #1065525
Serving Orange County and nearby Southern California communities
What This Concrete Installation Guide Covers
This guide explains how concrete installation works from start to finish.
It covers:
- What happens before concrete is poured
- How site review and measurements work
- When old concrete removal may be needed
- Why grading and drainage matter
- How base preparation affects the project
- How forms shape the concrete
- Concrete installation step by step
- Forms, pour, finish process
- Curing, cleanup, and final guidance
- What to share before requesting an estimate
For service details, visit our concrete work page.
For more planning guides, visit the Odell Concrete resource center.
Quick Answer: What Happens During Concrete Installation?
Concrete installation usually follows a clear process.
Most projects may include:
- Site review
- Measurements
- Scope discussion
- Old concrete removal, if needed
- Grading review
- Drainage review
- Base preparation
- Form setup
- Concrete delivery
- Concrete placement
- Leveling and finishing
- Control joint planning
- Curing guidance
- Cleanup
- Final walkthrough
The exact process depends on the project type.
A driveway, patio, walkway, foundation, slab, drainage project, or decorative concrete finish may each need a different plan.
Why Concrete Installation Planning Matters
Concrete becomes hard after it cures, so planning matters before the pour.
A good plan helps reduce problems like:
- Poor slope
- Water pooling
- Uneven surfaces
- Weak base support
- Random cracking
- Bad transitions
- Drainage problems
- Trip hazards
- Finish issues
- Delays during installation
Concrete should be planned around the property, not just the shape of the slab.
Before installation, the project should answer:
- What will the surface be used for?
- Where should water go?
- Does old concrete need removal?
- Does the site need grading?
- Does the area need drainage?
- What finish makes sense?
- How will the concrete connect to nearby surfaces?
Concrete Installation Step by Step
The full process can vary by project, but most concrete jobs follow these main stages.
Step 1: Site Review
The first step is reviewing the area where the concrete will be installed.
A site review may look at:
- Project size
- Surface use
- Access for equipment
- Existing concrete
- Cracks or settlement
- Soil and base conditions
- Drainage concerns
- Slope
- Nearby doors or structures
- Walkway, driveway, or patio connections
- Finish preferences
- HOA, property, or permit concerns
This step helps the contractor understand what the project needs before work begins.
For help knowing what to ask, read our what to ask a concrete contractor guide.
Step 2: Scope and Estimate
After the site is reviewed, the project scope can be discussed.
The estimate may consider:
- Project size
- Concrete thickness
- Old concrete removal
- Hauling and disposal
- Grading
- Drainage
- Base preparation
- Finish type
- Reinforcement needs
- Site access
- Cleanup
- Timeline
A clear scope helps avoid confusion later.
For pricing factors, read our concrete driveway cost guide or concrete patio cost guide.
Step 3: Scheduling
Once the project is approved, the job can be scheduled.
Scheduling may depend on:
- Project size
- Weather
- Concrete delivery
- Site access
- Crew availability
- Permit or HOA requirements
- Demolition needs
- Drainage or grading work
- Finish type
- Inspection timing, if needed
Some projects are simple. Others need more preparation before concrete can be poured.
Step 4: Site Preparation
Site preparation gets the area ready for work.
This may include:
- Clearing the work area
- Moving small items
- Protecting nearby surfaces
- Marking the project area
- Preparing access routes
- Reviewing utilities or obstacles
- Checking nearby landscaping
- Confirming drainage concerns
Good preparation helps the project move smoothly once work begins.
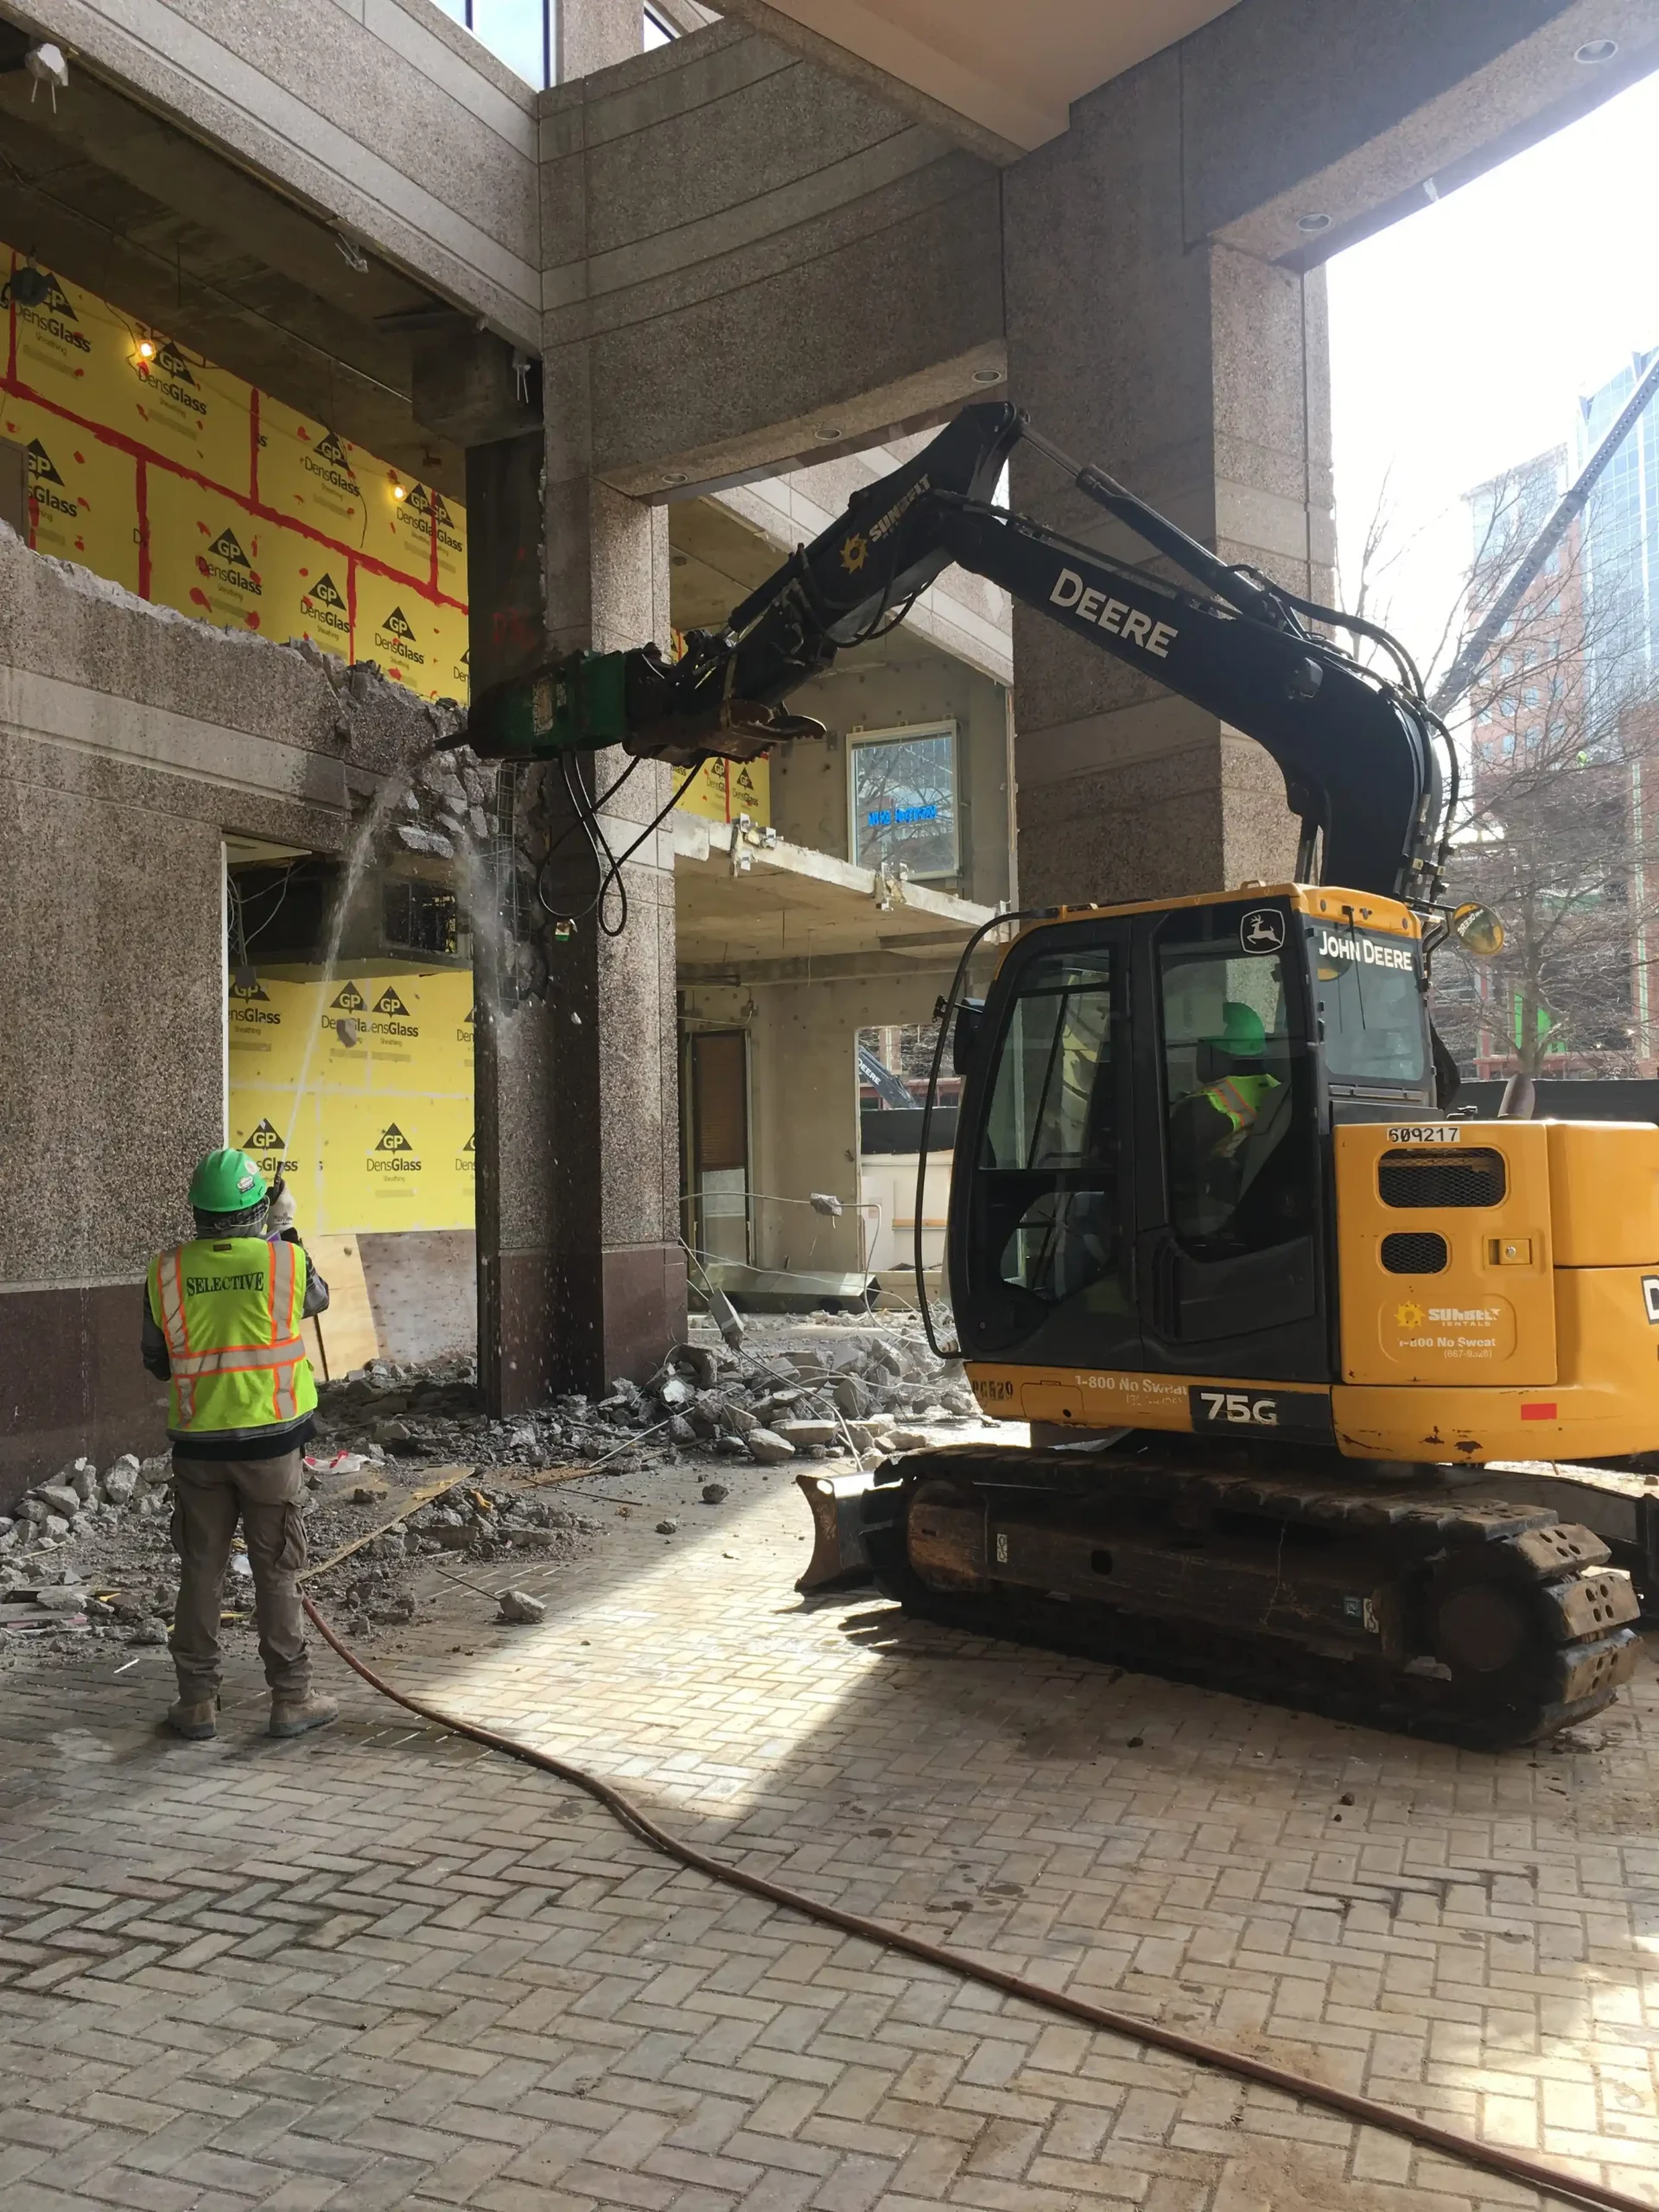
Step 5: Old Concrete Removal
If old concrete is cracked, sunken, uneven, poorly sloped, or holding water, it may need to be removed.
Old concrete removal may include:
- Breaking the existing concrete
- Removing broken sections
- Hauling debris
- Reviewing the base below
- Cleaning the area
- Preparing for grading or new concrete
For old concrete removal details, visit our demolition page.
If you are replacing a driveway, read our concrete driveway repair vs. replacement guide.
Step 6: Grading
Grading shapes the area before concrete is installed.
Grading helps control slope, drainage, base support, and surface elevation.
Grading may be needed when:
- The area is uneven
- Water moves toward the home
- Old concrete has settled
- The site has low spots
- A new drainage path is needed
- The concrete must connect to doors, walkways, or driveways
- The base needs correction
For service details, visit our grading page.
Step 7: Drainage Review
Drainage should be reviewed before concrete is poured.
Water should move away from doors, garages, foundations, walkways, side yards, and low areas.
Drainage concerns may include:
- Water pooling
- Poor slope
- Downspout runoff
- Sprinkler overspray
- Side-yard drainage
- Water moving toward the home
- Low spots
- Old concrete settlement
If water already collects in the project area, read our guide on why water pools on concrete.
For drainage service details, visit our concrete drainage systems page.
Step 8: Base Preparation
The base below the concrete matters.
A weak base can lead to cracking, sinking, uneven sections, water pooling, or surface movement.
Base preparation may include:
- Removing loose material
- Shaping the base
- Compacting the base
- Correcting soft areas
- Preparing for the right concrete thickness
- Reviewing drainage direction
- Creating stable support for the slab
A driveway, patio, walkway, slab, or foundation should be supported from below.
The surface is only as good as the preparation under it.
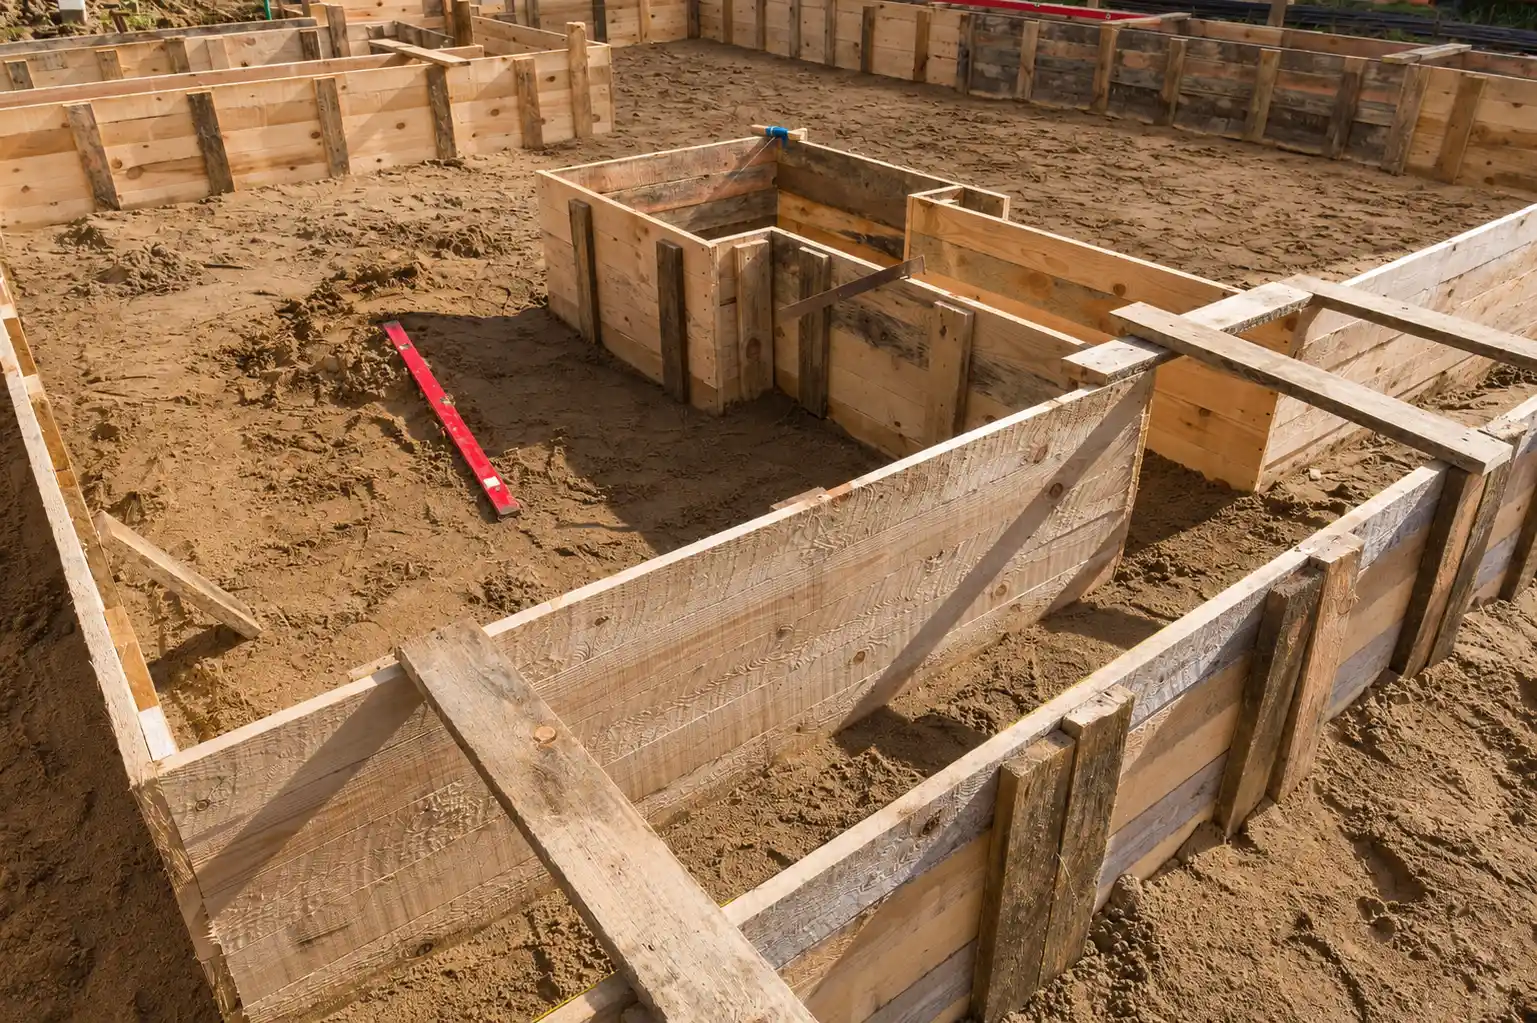
Step 9: Form Setup
Forms shape the concrete before it is poured.
Forms help define:
- Concrete edges
- Project shape
- Slab width
- Surface elevation
- Corners
- Borders
- Steps or transitions
- Driveway, patio, or walkway layout
The forms, pour, finish process starts here. If the forms are not set correctly, the finished concrete may not match the planned shape, slope, or layout.
Step 10: Reinforcement, If Needed
Some concrete projects may need reinforcement.
Reinforcement may depend on the project type, load, thickness, use, and site conditions.
Reinforcement may include:
- Rebar
- Wire mesh
- Dowels
- Thickened edges
- Anchor bolts
- Structural details shown in plans
Driveways, foundations, slabs, commercial areas, and load-bearing concrete may need more planning than simple light-use surfaces.
For foundation service details, visit our concrete foundation page.
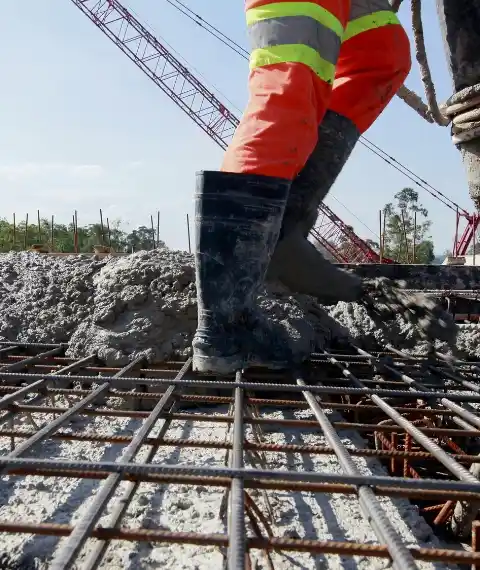
Step 11: Concrete Pour
During the pour, concrete is placed inside the prepared forms.
The crew works to move, spread, and level the concrete before it starts to set.
Concrete placement may include:
- Concrete delivery
- Pour coordination
- Spreading the concrete
- Leveling the surface
- Checking slope
- Working around forms
- Managing edges and transitions
- Preparing for the finish
The pour needs good timing. Once concrete starts to set, the crew must work within the right window.
Step 12: Finishing
Finishing creates the surface texture and final look.
Common finish options may include:
- Broom finish
- Washed finish
- Top-Cast finish
- Stamped concrete
- Decorative concrete
- Smooth or custom finish details, where appropriate
Finish choice can affect:
- Appearance
- Traction
- Maintenance
- Surface feel
- Cost
- Curing care
- Long-term use
To compare finishes, read:
For finish service details, visit our decorative concrete finishes page.
Step 13: Control Joints
Control joints help guide concrete movement.
Concrete can shrink and move as it cures. Joints help reduce random cracking by creating planned lines.
Control joint planning may depend on:
- Slab size
- Slab shape
- Concrete thickness
- Driveway layout
- Patio layout
- Walkway connections
- Corners and transitions
- Surface use
Control joints do not prevent every crack, but they help manage where movement is more likely to show.
If you want to understand crack causes, read our why concrete driveways crack guide.
Step 14: Curing
Curing is the time concrete needs to gain strength.
New concrete should not be treated like a finished hard surface right away.
Curing can be affected by:
- Weather
- Sun exposure
- Wind
- Concrete mix
- Surface use
- Thickness
- Vehicle weight
- Contractor instructions
Do not drive on new concrete too soon.
For driveway timing, read our how long before driving on new concrete guide.
Step 15: Cleanup and Final Walkthrough
Cleanup is part of the installation process.
Cleanup may include:
- Removing forms
- Clearing debris
- Hauling away old concrete, if included
- Cleaning the work area
- Removing extra materials
- Reviewing the finished surface
- Sharing curing instructions
- Answering final questions
A clean finish matters, but so does a clear handoff.
Property owners should understand how to care for the new concrete after installation.
What Happens During a Concrete Project?
What happens during a concrete project depends on the surface, site, and scope.
A simple walkway may move faster than a large driveway, patio, foundation, or drainage project.
The project may include:
- Planning
- Preparation
- Removal
- Grading
- Drainage work
- Forms
- Concrete placement
- Finish work
- Curing
- Cleanup
Some projects may also include:
- Permit review
- HOA approval
- Utility coordination
- Accessibility planning
- Structural plans
- Underground drainage
- Multiple finish areas
- More than one concrete pour
The more complex the site, the more important planning becomes.
Concrete Installation Process in Orange County
The concrete installation process Orange County property owners need can vary by city, property type, access, and project use.
Local projects may need special attention when:
- The property has tight side-yard access
- Water collects near the home
- The driveway connects to the street
- The patio connects to doors or walkways
- The project is in an HOA community
- The site has old concrete
- The project affects drainage
- The work is near an accessible route
- The concrete supports an ADU, addition, or structure
A concrete project in Orange County should be planned around the property, the surface use, and the surrounding conditions.
For permit planning, read our concrete permits in Orange County guide.
How Concrete Installation Works by Project Type
Different concrete projects need different planning.
Concrete Driveways
Driveways need planning for vehicle use, slope, thickness, drainage, garage transitions, street transitions, and finish type.
A driveway project may include:
- Old driveway removal
- Base review
- Grading
- Drainage planning
- Forms
- Concrete placement
- Finish work
- Control joints
- Curing guidance
For service details, visit our concrete driveway installation page.
Concrete Patios
Patios need planning for doors, furniture, outdoor use, drainage, slope, finish, and access.
A patio project may include:
- Layout review
- Drainage review
- Old patio removal
- Grading
- Base preparation
- Forms
- Finish selection
- Curing guidance
For service details, visit our concrete patio construction page.
If the area has water concerns, read our drainage before concrete patio guide.
Concrete Walkways
Walkways need safe access, comfortable slope, proper width, and good transitions.
A walkway project may include:
- Route planning
- Slope review
- Trip hazard review
- Drainage planning
- Forms
- Concrete placement
- Surface finish
- Control joints
For service details, visit our concrete walkway contractor page.
Concrete Foundations and Slabs
Foundations and slabs may need more structural planning than basic flatwork.
A foundation project may include:
- Plan review
- Layout
- Excavation
- Footings
- Reinforcement
- Forms
- Concrete placement
- Inspection coordination, if needed
- Curing guidance
For service details, visit our concrete foundation page.
For cost planning, read our concrete foundation cost guide.
Decorative Concrete
Decorative concrete may need more finish planning.
Decorative work may include:
- Stamped concrete
- Washed finish
- Top-Cast finish
- Broom finish
- Borders
- Color
- Texture
- Sealer planning
For finish options, visit our decorative concrete finishes page.
What Affects the Concrete Installation Timeline?
The timeline depends on the project.
A small walkway may move faster than a driveway, patio, foundation, or drainage project.
Timeline factors may include:
- Project size
- Old concrete removal
- Site access
- Weather
- Drainage work
- Grading
- Base preparation
- Concrete delivery
- Finish type
- Permit or HOA needs
- Inspection timing
- Curing time
- Cleanup needs
Decorative finishes, drainage work, tight access, or old concrete removal can add time to the project.
What Can Delay a Concrete Project?
Some delays are avoidable. Others depend on site conditions.
Common delay factors include:
- Rain or wet conditions
- Poor access
- Hidden base problems
- Drainage issues
- Old concrete removal taking longer than expected
- Utility conflicts
- Permit or HOA delays
- Layout changes
- Concrete delivery timing
- Finish changes
- Inspection timing
Sharing photos and project details early can help reduce surprises.
How to Prepare Before Concrete Installation
You can help the project move smoothly by preparing the site before the crew arrives.
Helpful preparation steps may include:
- Move vehicles away from the work area
- Remove small patio furniture
- Clear toys, planters, pots, and loose items
- Keep pets away from the work zone
- Unlock gates if needed
- Share access concerns
- Mark sprinkler heads if known
- Share drainage concerns
- Share downspout locations
- Discuss finish preferences before the pour
- Ask about curing instructions before using the surface
Do not move heavy items if it is unsafe. Ask the contractor what should be cleared before the work starts.
What Property Owners Should Expect on Installation Day
Installation day can be active and noisy.
Depending on the project, you may see:
- Crew arrival
- Equipment movement
- Demolition, if needed
- Base preparation
- Form setup
- Concrete delivery
- Pouring
- Finishing
- Control joint work
- Cleanup
Access may be limited during the work.
You may need to avoid:
- Walking on fresh concrete
- Driving near the pour area
- Letting pets or children into the work zone
- Moving furniture back too soon
- Sprinkler use near the new concrete
- Washing the area before curing guidance allows it
Follow the contractor’s instructions for the best result.
What Happens After Concrete Is Poured?
After concrete is poured and finished, it still needs time to cure.
After the pour, you may receive guidance about:
- When to walk on the surface
- When to drive on the surface
- When to place furniture
- When to avoid water exposure
- How to protect the finish
- How to avoid early damage
- What to expect as the concrete cures
New concrete may look different as it cures. Color and surface appearance can change during the early curing period.
For driveway timing, read our how long before driving on new concrete guide.
Common Concrete Installation Mistakes to Avoid
Concrete problems often start before the pour.
Common mistakes include:
- Ignoring drainage
- Pouring over a weak base
- Skipping grading review
- Choosing a finish too late
- Not planning control joints
- Forgetting about vehicle use
- Not reviewing old concrete problems
- Pouring before drainage is understood
- Using the surface too soon
- Comparing estimates without comparing scope
A good concrete project should plan the surface, base, slope, drainage, finish, and use together.
Permits, HOA Rules, and Property Requirements
Some concrete projects may involve city rules, HOA approval, property management review, or inspections.
This may matter when the project affects:
- Driveway approaches
- Sidewalk connections
- Drainage direction
- Commercial entries
- Accessible routes
- Shared property areas
- Multi-family properties
- Foundation work
- ADUs or additions
- Public access areas
Read our concrete permits in Orange County guide for more planning details.
If the project connects to an accessible route, visit our ADA concrete ramp requirements guide and ADA concrete work page.
Cost Factors During Concrete Installation
Concrete installation cost depends on the full scope.
Cost factors may include:
- Project size
- Concrete thickness
- Old concrete removal
- Hauling and disposal
- Base condition
- Grading needs
- Drainage correction
- Reinforcement
- Finish type
- Site access
- Layout complexity
- Permit or HOA requirements
- Cleanup
For driveway pricing, read our concrete driveway cost guide.
For patio pricing, read our concrete patio cost guide.
What to Share Before Requesting a Concrete Estimate
You do not need to know every detail before calling.
Still, these details can help:
- Property address or nearest cross streets
- Photos of the project area
- Approximate size
- Project type
- Current surface condition
- Whether old concrete needs removal
- Drainage concerns
- Slope concerns
- Access notes
- Finish preferences
- Vehicle use, if it is a driveway
- Furniture or outdoor use, if it is a patio
- Any drawings, plans, or scope notes
- HOA, property management, or permit concerns
- Timeline goals
Clear photos are especially helpful for understanding access, drainage, and current conditions.

When to Request a Concrete Installation Estimate
You may need a concrete estimate if you are planning:
- A new concrete driveway
- A driveway replacement
- A concrete patio
- A patio replacement
- A walkway
- A side-yard path
- A concrete slab
- A concrete foundation
- A decorative concrete finish
- Old concrete removal
- Drainage correction before concrete
- Grading before concrete
- A new outdoor living area
Call Odell Concrete at (714) 717-1771 to request a free estimate.
Related Concrete Installation Resources
Use these related guides if you are still planning your project:
- Concrete driveway cost guide
- Concrete patio cost guide
- Concrete foundation cost guide
- Why water pools on concrete
- Drainage before concrete patio
- Why concrete driveways crack
- How long before driving on new concrete
- What to ask a concrete contractor
- Concrete permits in Orange County
For all guides, visit the Odell Concrete resource center.
Request a Concrete Installation Estimate in Orange County
Need help planning a concrete driveway, patio, walkway, slab, foundation, drainage project, grading work, or decorative concrete finish?
Call Odell Concrete at (714) 717-1771 to request a free estimate.
You can also visit the contact page and share your photos, approximate size, current surface condition, drainage concerns, access details, finish preferences, and project goals.
FAQs About How Concrete Installation Works
Concrete installation usually includes site review, preparation, old concrete removal if needed, grading, drainage review, base preparation, form setup, concrete placement, finishing, control joints, curing guidance, and cleanup.
During a concrete project, the crew prepares the area, sets forms, pours and places concrete, finishes the surface, plans control joints, gives curing instructions, and cleans the site. Larger projects may also include demolition, grading, drainage, or inspections.
Before concrete is poured, the site should be reviewed for layout, slope, drainage, base condition, access, old concrete, finish choice, and how the surface will be used.
Base preparation helps support the concrete. A weak or uneven base can lead to cracking, sinking, low spots, poor drainage, and uneven surfaces.
Forms shape the concrete before it hardens. They help define the edges, layout, elevation, slope, corners, and transitions of the finished surface.
Yes. Drainage should be reviewed before concrete is poured. Poor drainage can cause water pooling, cracking, settlement, base movement, and water near the home.
Old concrete may need removal if it is cracked, sunken, poorly sloped, holding water, uneven, patched many times, or built over a weak base.
Sometimes, but it depends on the condition of the old surface. If the old concrete is cracked, sunken, poorly sloped, holding water, or built over a weak base, removal may be the better option.
The timeline depends on project size, old concrete removal, grading, drainage, site access, finish type, weather, concrete delivery, inspections, and curing needs.
Walking time depends on the concrete mix, weather, project type, surface use, and contractor instructions. Always follow the curing guidance provided after installation.
Driving time depends on curing conditions, driveway thickness, vehicle weight, weather, and contractor instructions. Do not drive on new concrete until the contractor says it is ready.
Send photos, approximate size, project type, current surface condition, drainage concerns, access notes, finish preferences, whether old concrete needs removal, and any HOA, property management, or permit concerns.
Call Odell Concrete at (714) 717-1771 or visit the contact page to request a free estimate.
Start Planning Your Concrete Project
A good concrete project starts before the pour.
If you want to understand how concrete installation works or need help planning a driveway, patio, walkway, slab, foundation, grading, drainage, or decorative concrete finish, call Odell Concrete at (714) 717-1771 to request a free estimate.